
In Uspacy, documents can be created not only manually but also automatically — using Processes or Conditional Actions. This is useful when a document needs to be generated after a specific event, such as a deal stage change, filling in a required field, approving a request, or launching an internal process.
This approach helps reduce manual work, prevent errors during document preparation, and speed up team workflows. The system creates a document based on a pre-configured template and automatically inserts data from the required element.
How does it work?
Here we will look at setting up automatic document creation using Processes as an example. The same logic is also available for Conditional Actions: you need to select the Create action, specify the Document type, select the entity, pass its ID, and select a document template.
Before you start
To create documents automatically, document templates must already be prepared in your Workspace.
❗️Important: A template can only be selected from those linked to the relevant entity. For example, if a document is created for a deal, only templates connected to deals will be available in the list.
Example scenario
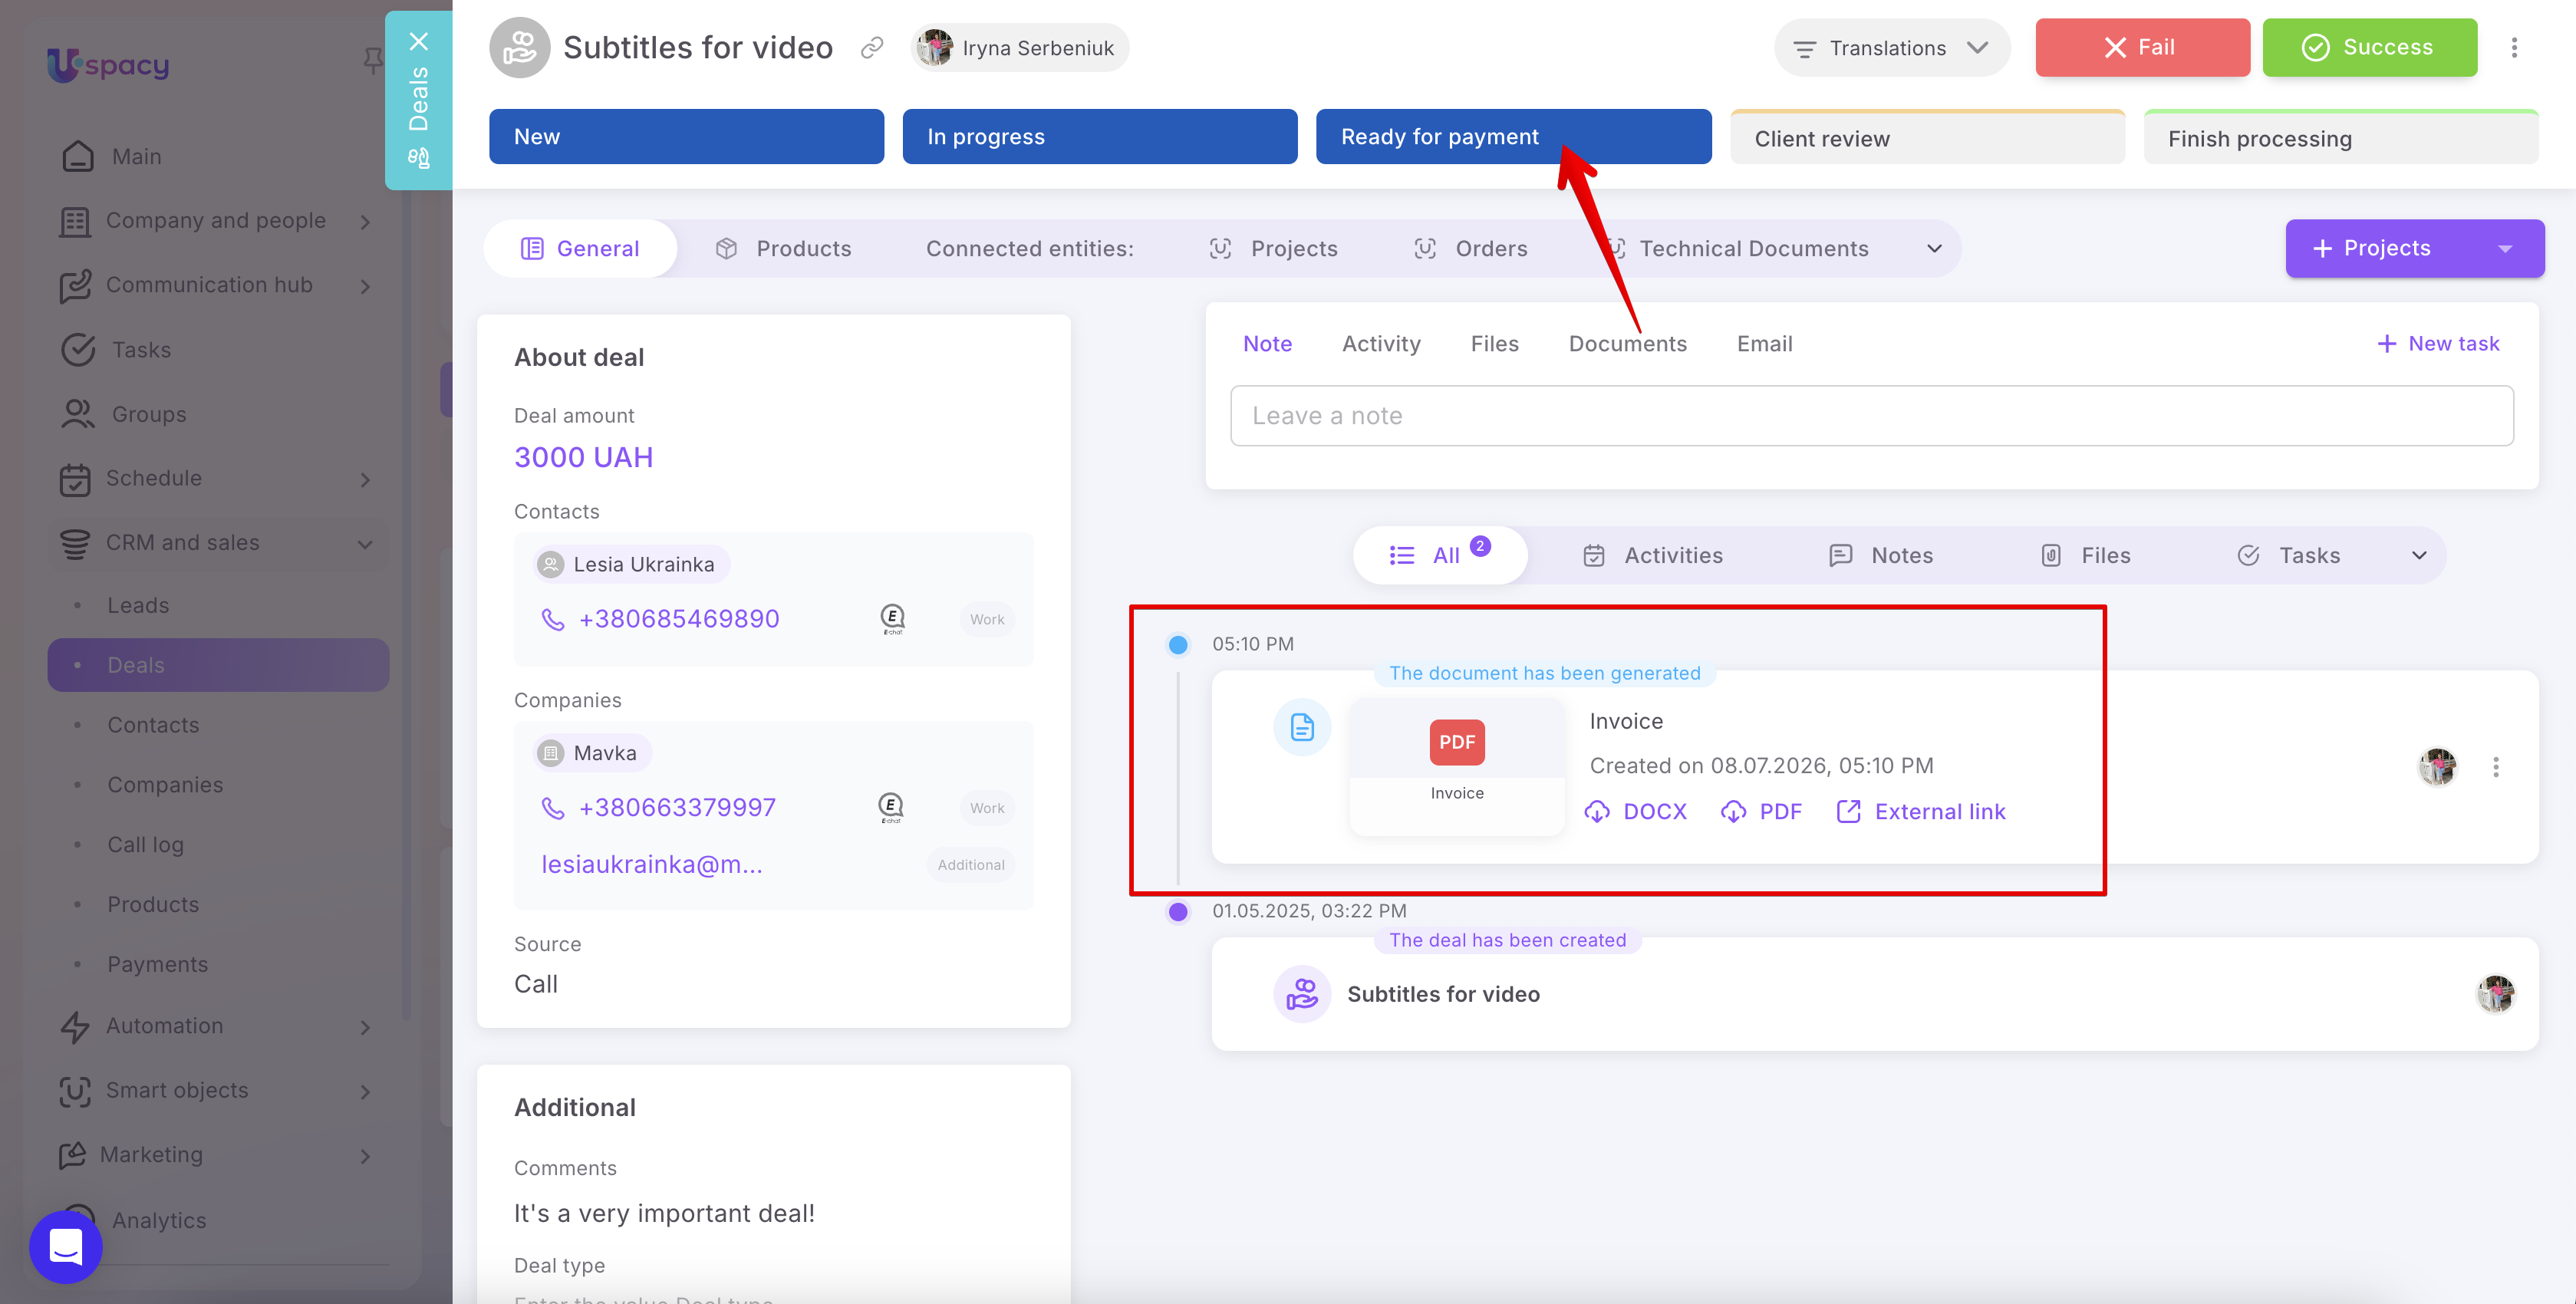
Let’s consider a scenario where an invoice needs to be created automatically after a deal moves to the Ready for payment stage.
For this, the process must:
1. track a deal stage change;
2. check whether the deal has moved to the required stage;
3. create a document based on the invoice template.
First, you need to configure a Trigger. It determines which event will launch the process.
In the Event object field, select the entity the process will be connected to. In our example, this is Deal.
In the Event field, select the event that should trigger the process. For this scenario, select Stage changed.
If needed, you can also allow this process to be launched by other processes or conditional actions.

To make sure the document is created only after moving to a specific stage, not after any stage change, add a Filter block.
In this block, specify the execution condition. For example:
Stage → Translations funnel: Ready for payment
This means the process will continue only when the deal moves to the Ready for payment stage. If the condition is not met, the document will not be created.

After the condition, add a new action. Select Create from the list of actions.
Next, specify what needs to be created. To generate a document automatically, select Document.
After that, document creation settings will open.


In the document creation block, configure the main parameters.
In the Name field, enter a clear name for the action, for example, Invoice. It will be displayed in the process and help you quickly understand what this block does.
Next, select the Entity that the document will be created from. In our example, this is Deal.

In the Entity ID field, pass the ID of the deal that triggered the process. To do this, click the value selection button and select a variable from the trigger, for example:
Deals → ID
This allows the system to understand which deal the document should be created for.

After selecting the entity and its ID, select the template that will be used to create the document.
In the Template field, open the list of available templates and select the required one, for example, Invoice.
💡 The list only displays templates linked to the selected entity. If the required template is missing, check its settings in the document generator.

If needed, you can add additional fields to the document. To do this, click Add field from the list.
The following options are available:
- Document name;
- Document number;
- Billing details;
- Signature and seal.
The Document name field lets you assign a clear, descriptive name to the generated file, such as “Invoice for translation services.” If the document is sent by email through an automation, it will be attached to the email with this name, making it easier for the client to recognize and find the file they need.
If you add billing details, the document can include your company information. The Signature and seal option allows you to add the corresponding block to the document if it is required for your template and workflow.


After configuring all blocks, click Save.
If you want the process to start working immediately, use the Activate after saving toggle.

After that, the process will automatically create a document whenever a deal meets the specified conditions. For example, when it moves to the Ready for payment stage, Uspacy will create an invoice based on the selected template.
How to send a generated document by email?
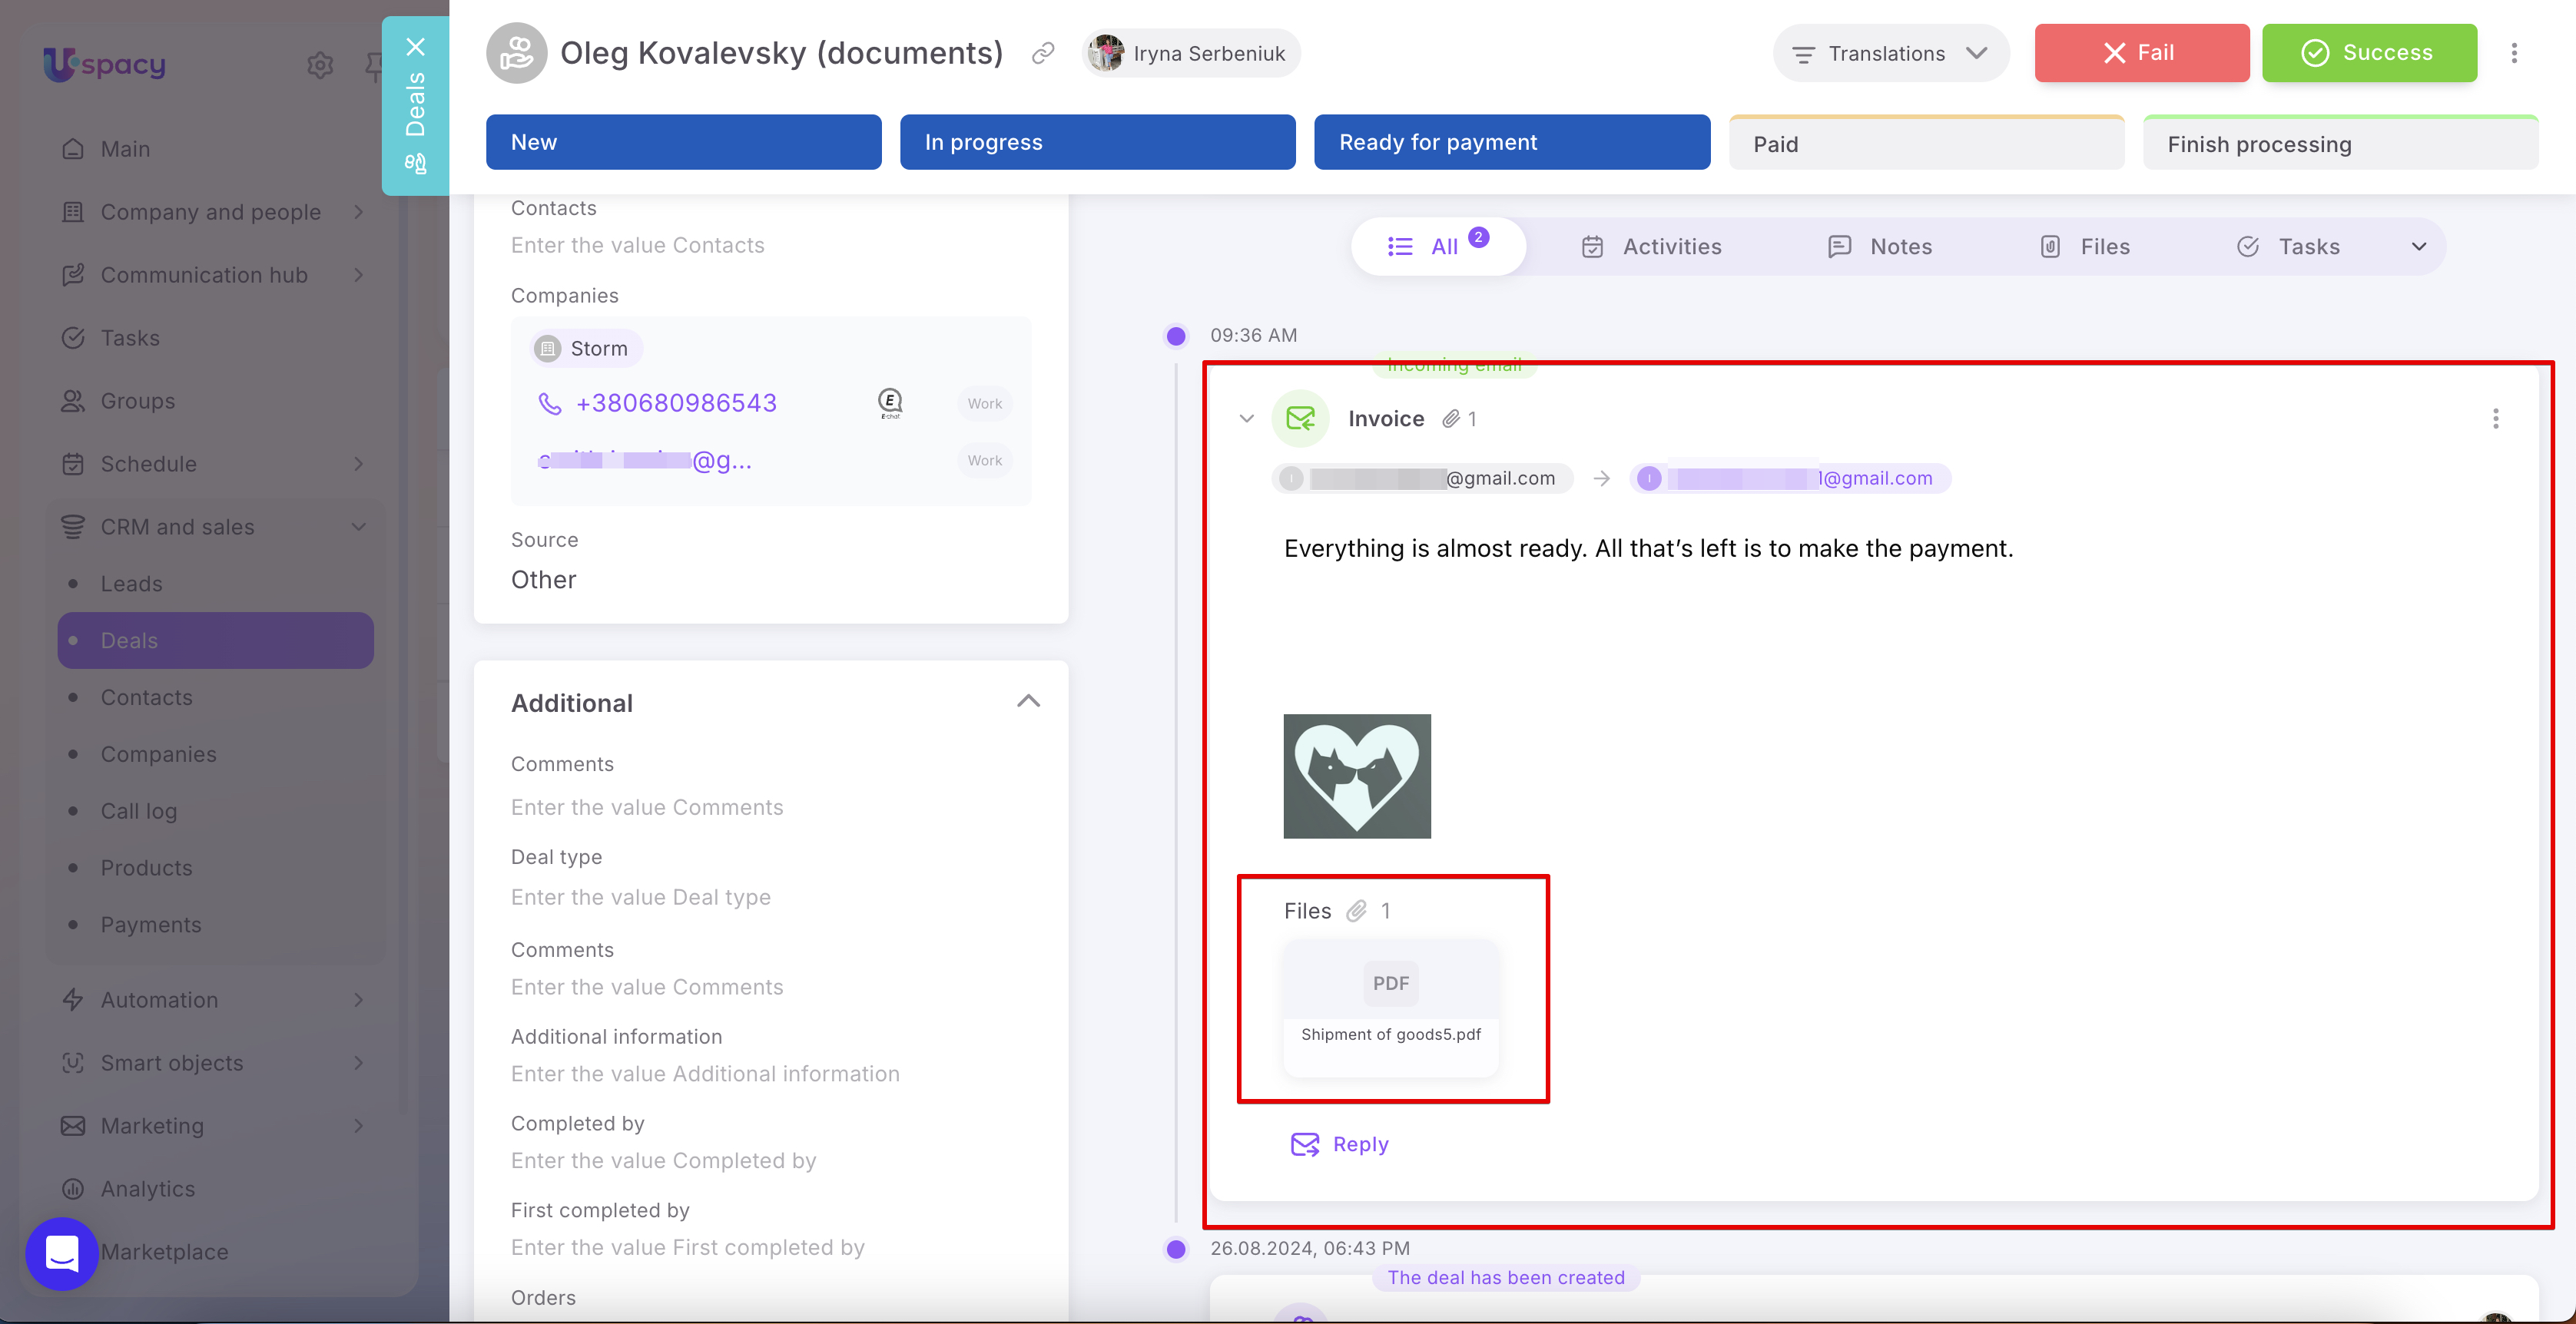
You can attach a generated document to an email and automatically send it to a client within the same automation workflow. For example, when a deal moves to the Ready for payment stage, Uspacy can generate an invoice and send it to the client's email address.
To do this, after generating the document, add the Create action and select Email as the type.

Configure the email
Enter the basic email settings:
- Subject — enter the subject line of the email the client will receive.
- To — enter the recipient's email address or insert it using a variable.
- Sender — select the connected mailbox from which the email should be sent.
- Email body — enter the message for the client.
In our example, a Retrieve action for the contact associated with the deal is added between the document creation and email-sending actions. This allows you to use the contact's email address in the To field.
You can also add variables to the email subject and body if needed. To do this, click the {+} button in the corresponding field and select the required value.

Attach the generated file
At the bottom of the email editor, click the paperclip icon.

In the menu, select Enter the value. This option allows you to pass a file from a previous automation action.

The File field will appear. Click the {+} button on the right to select a variable.

In the list, expand the action that creates the document. In our example, this is Action (id:1) | Document. Then select the required format—PDF or DOCX—and the File ID value.
For example, to send an invoice as a PDF, select:
Action (id:1) | Document → PDF → File ID

After you select the value, the corresponding variable will appear in the File field.

Result
After you save and activate the automation, it will not only create the document but also send it to the client. When a deal meets the specified conditions, Uspacy will generate the invoice, add it as an attachment, and send the email to the specified address.
In short, automatic document generation eliminates manual steps from repetitive workflows. You only need to configure the process or conditional action once, select the required entity, provide its ID, and specify the document template. After that, Uspacy will automatically create invoices, acts, contracts, or other documents when needed. If you also add an email-sending step to the workflow, the generated file will be automatically attached to the email and sent to the client.
If you have additional questions or you need to contact the support, send a request to this email [email protected]
Created: July 8, 2026