Facebook Lead Ads is a convenient tool for collecting leads from advertising campaigns, and the official integration with Uspacy helps make this process seamless. By connecting it, new inquiries from forms can be automatically transferred into the system, where your team can immediately work with them in the CRM.
This approach is especially useful because it eliminates unnecessary manual work. There is no need to transfer leads separately, duplicate information, or spend time on repetitive record creation. As a result, the team receives new leads faster, manages their processing more efficiently, and works within a unified environment without gaps between advertising and sales.
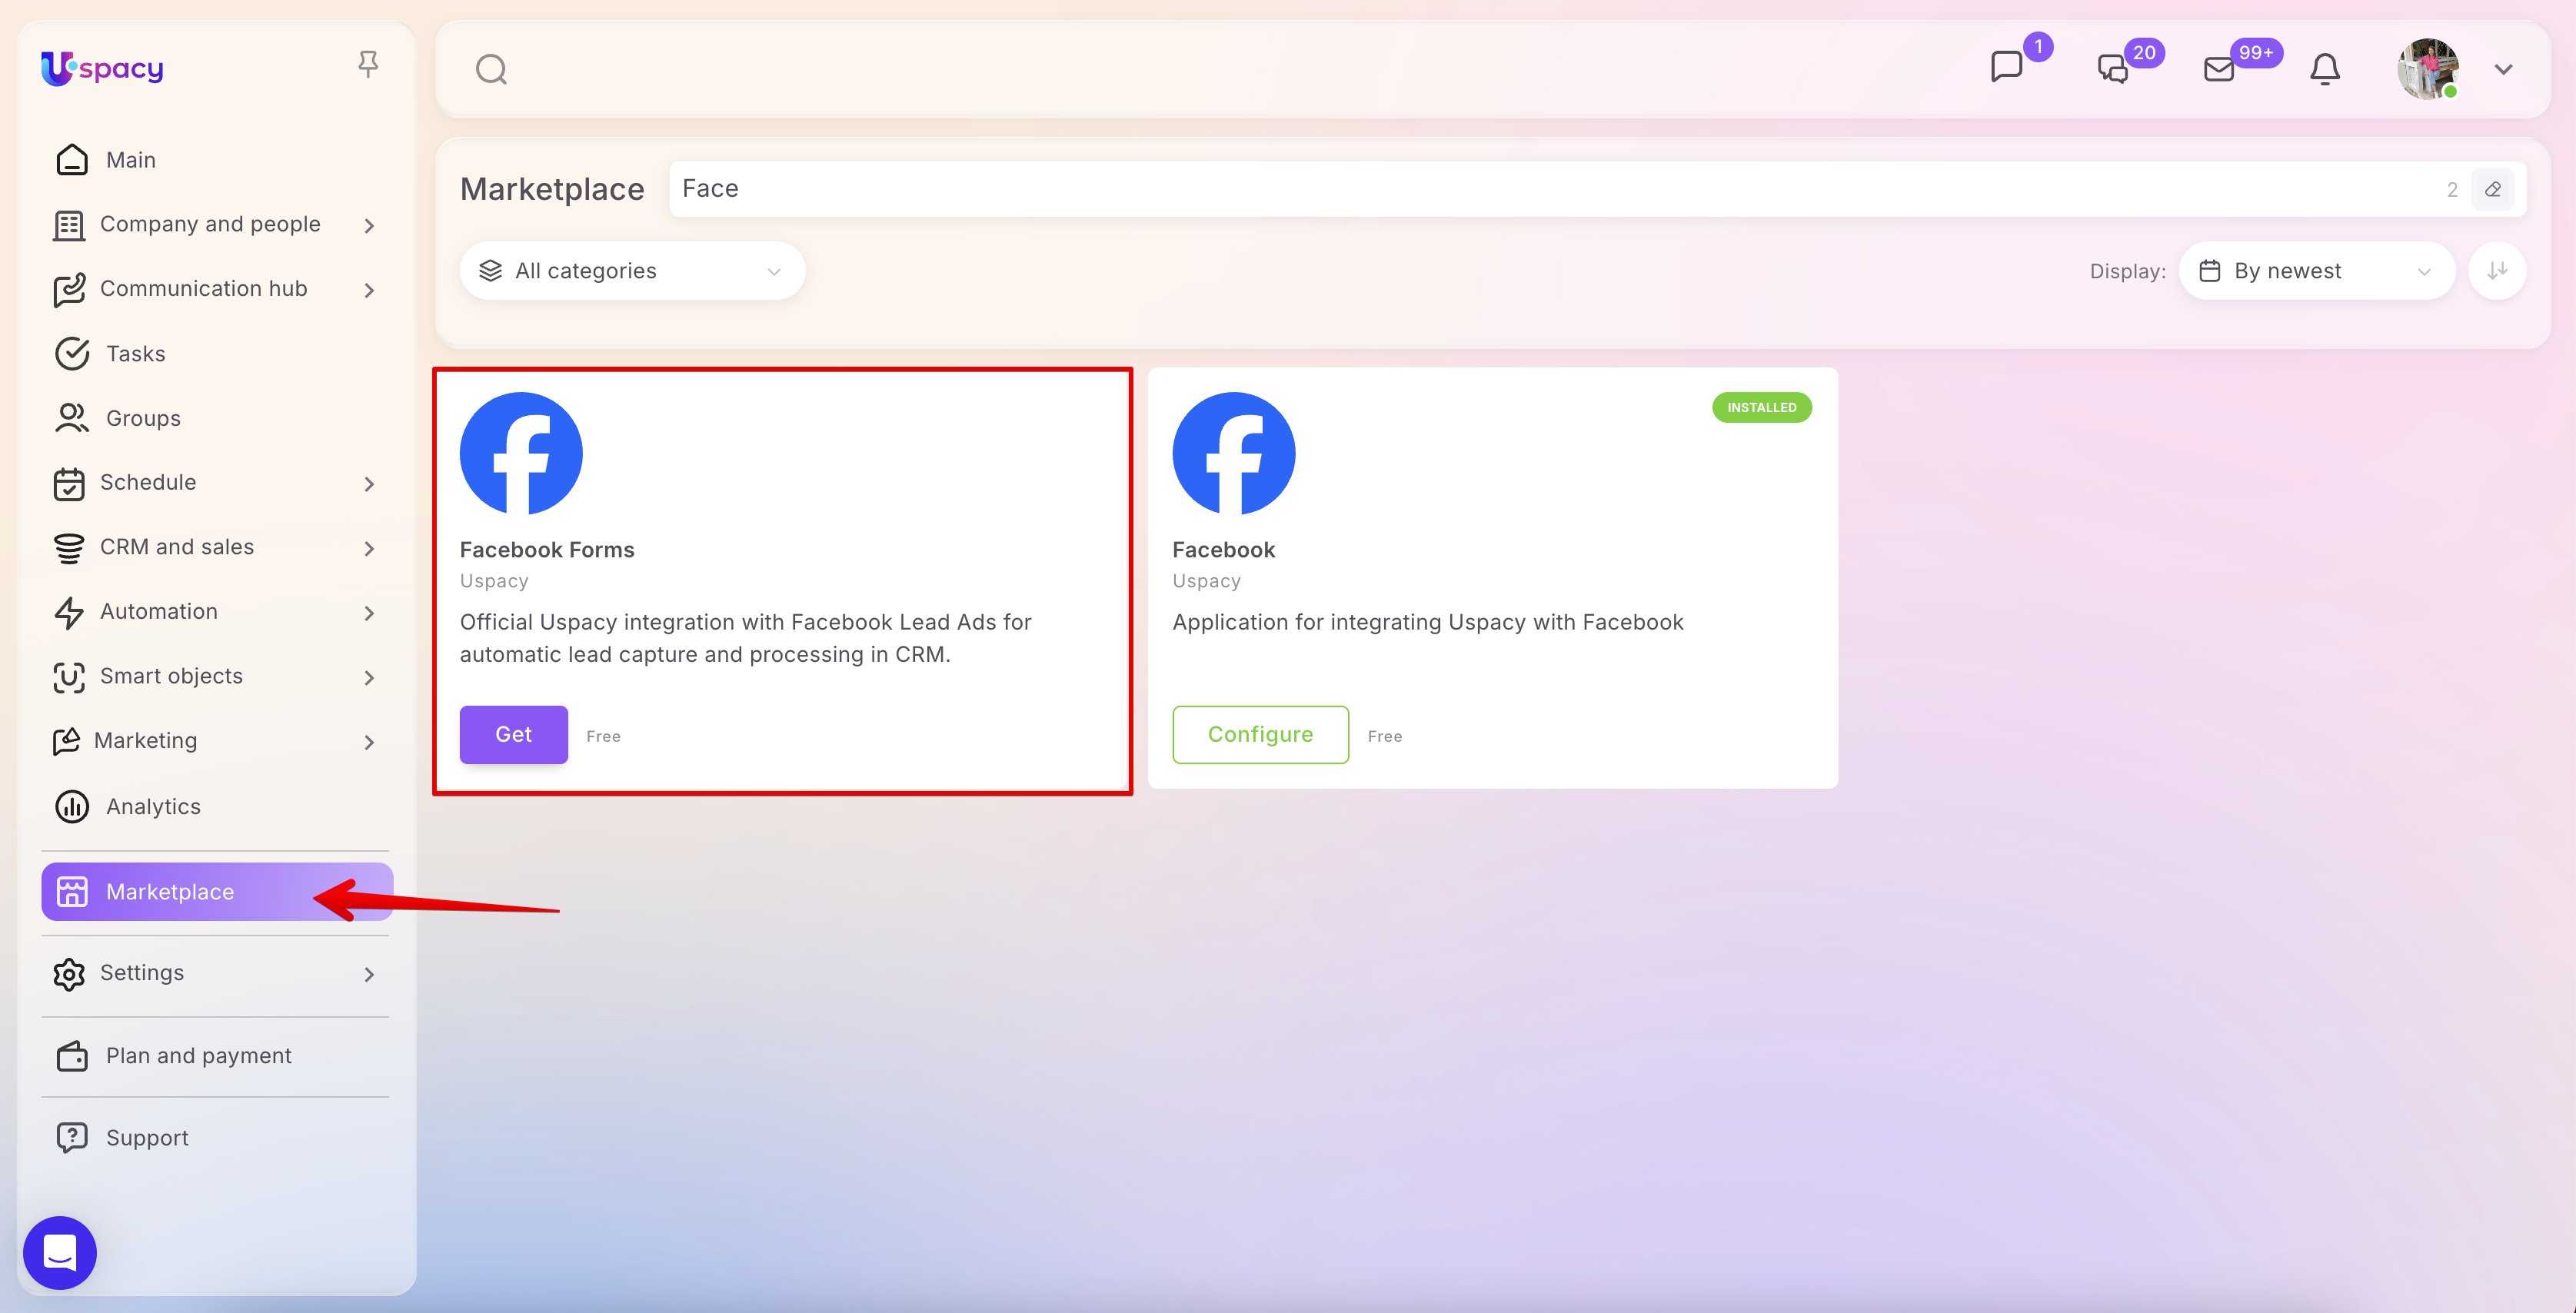
In the Marketplace section, a free application for Facebook Lead Ads integration is available. After installation and configuration, it enables automatic transfer of leads from ad forms into Uspacy, allowing you to quickly manage and work with them in the CRM.
Preparation steps
1. Have a Facebook Business Page.
2. Log in to your Facebook account in your browser using the profile that manages your business page. This step is optional, as you can also sign in later during the integration setup in your Uspacy workspace.
3. If you have previously connected Facebook or Instagram in Uspacy, make sure all pages remain active. If you disconnect them, you will stop receiving messages from those pages.
4. Optionally, create the necessary forms in advance so that after connecting the integration, you can immediately use them to collect and transfer data directly into your CRM.
Connection
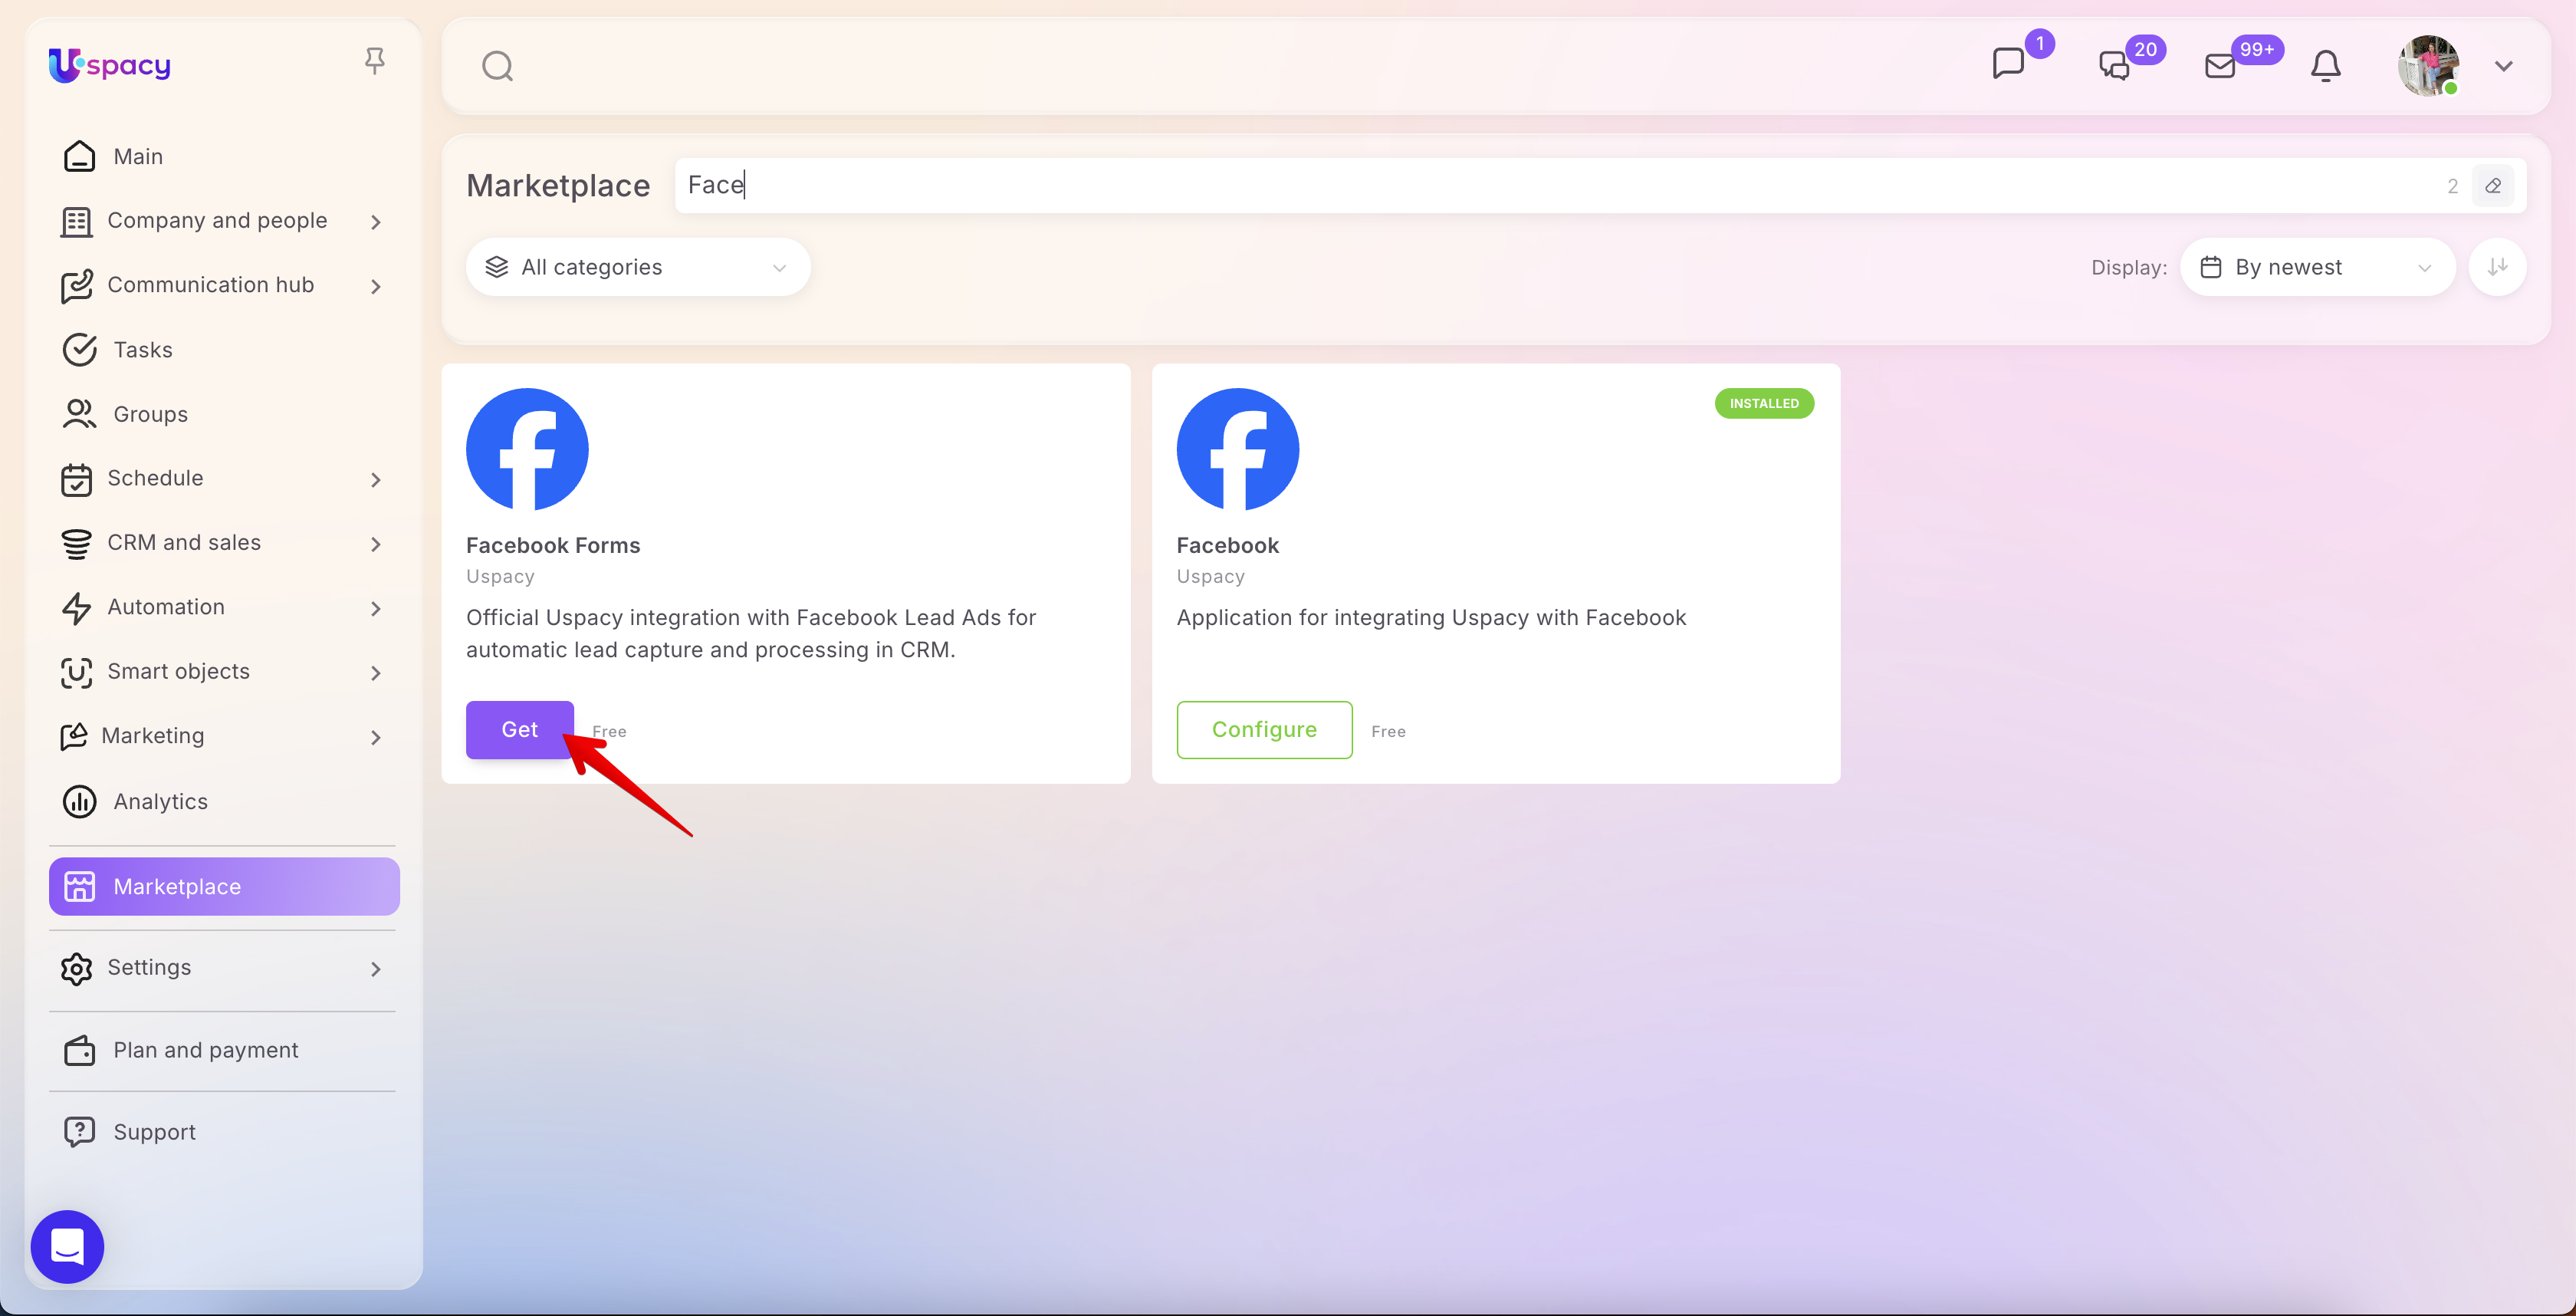
First, you need to install the free application for integrating Facebook forms into your Workspace. To do this, go to the Marketplace section and click the Get button.
Once the application is installed, open its settings.Here, establish a connection with Facebook. To do this, use the designated button.
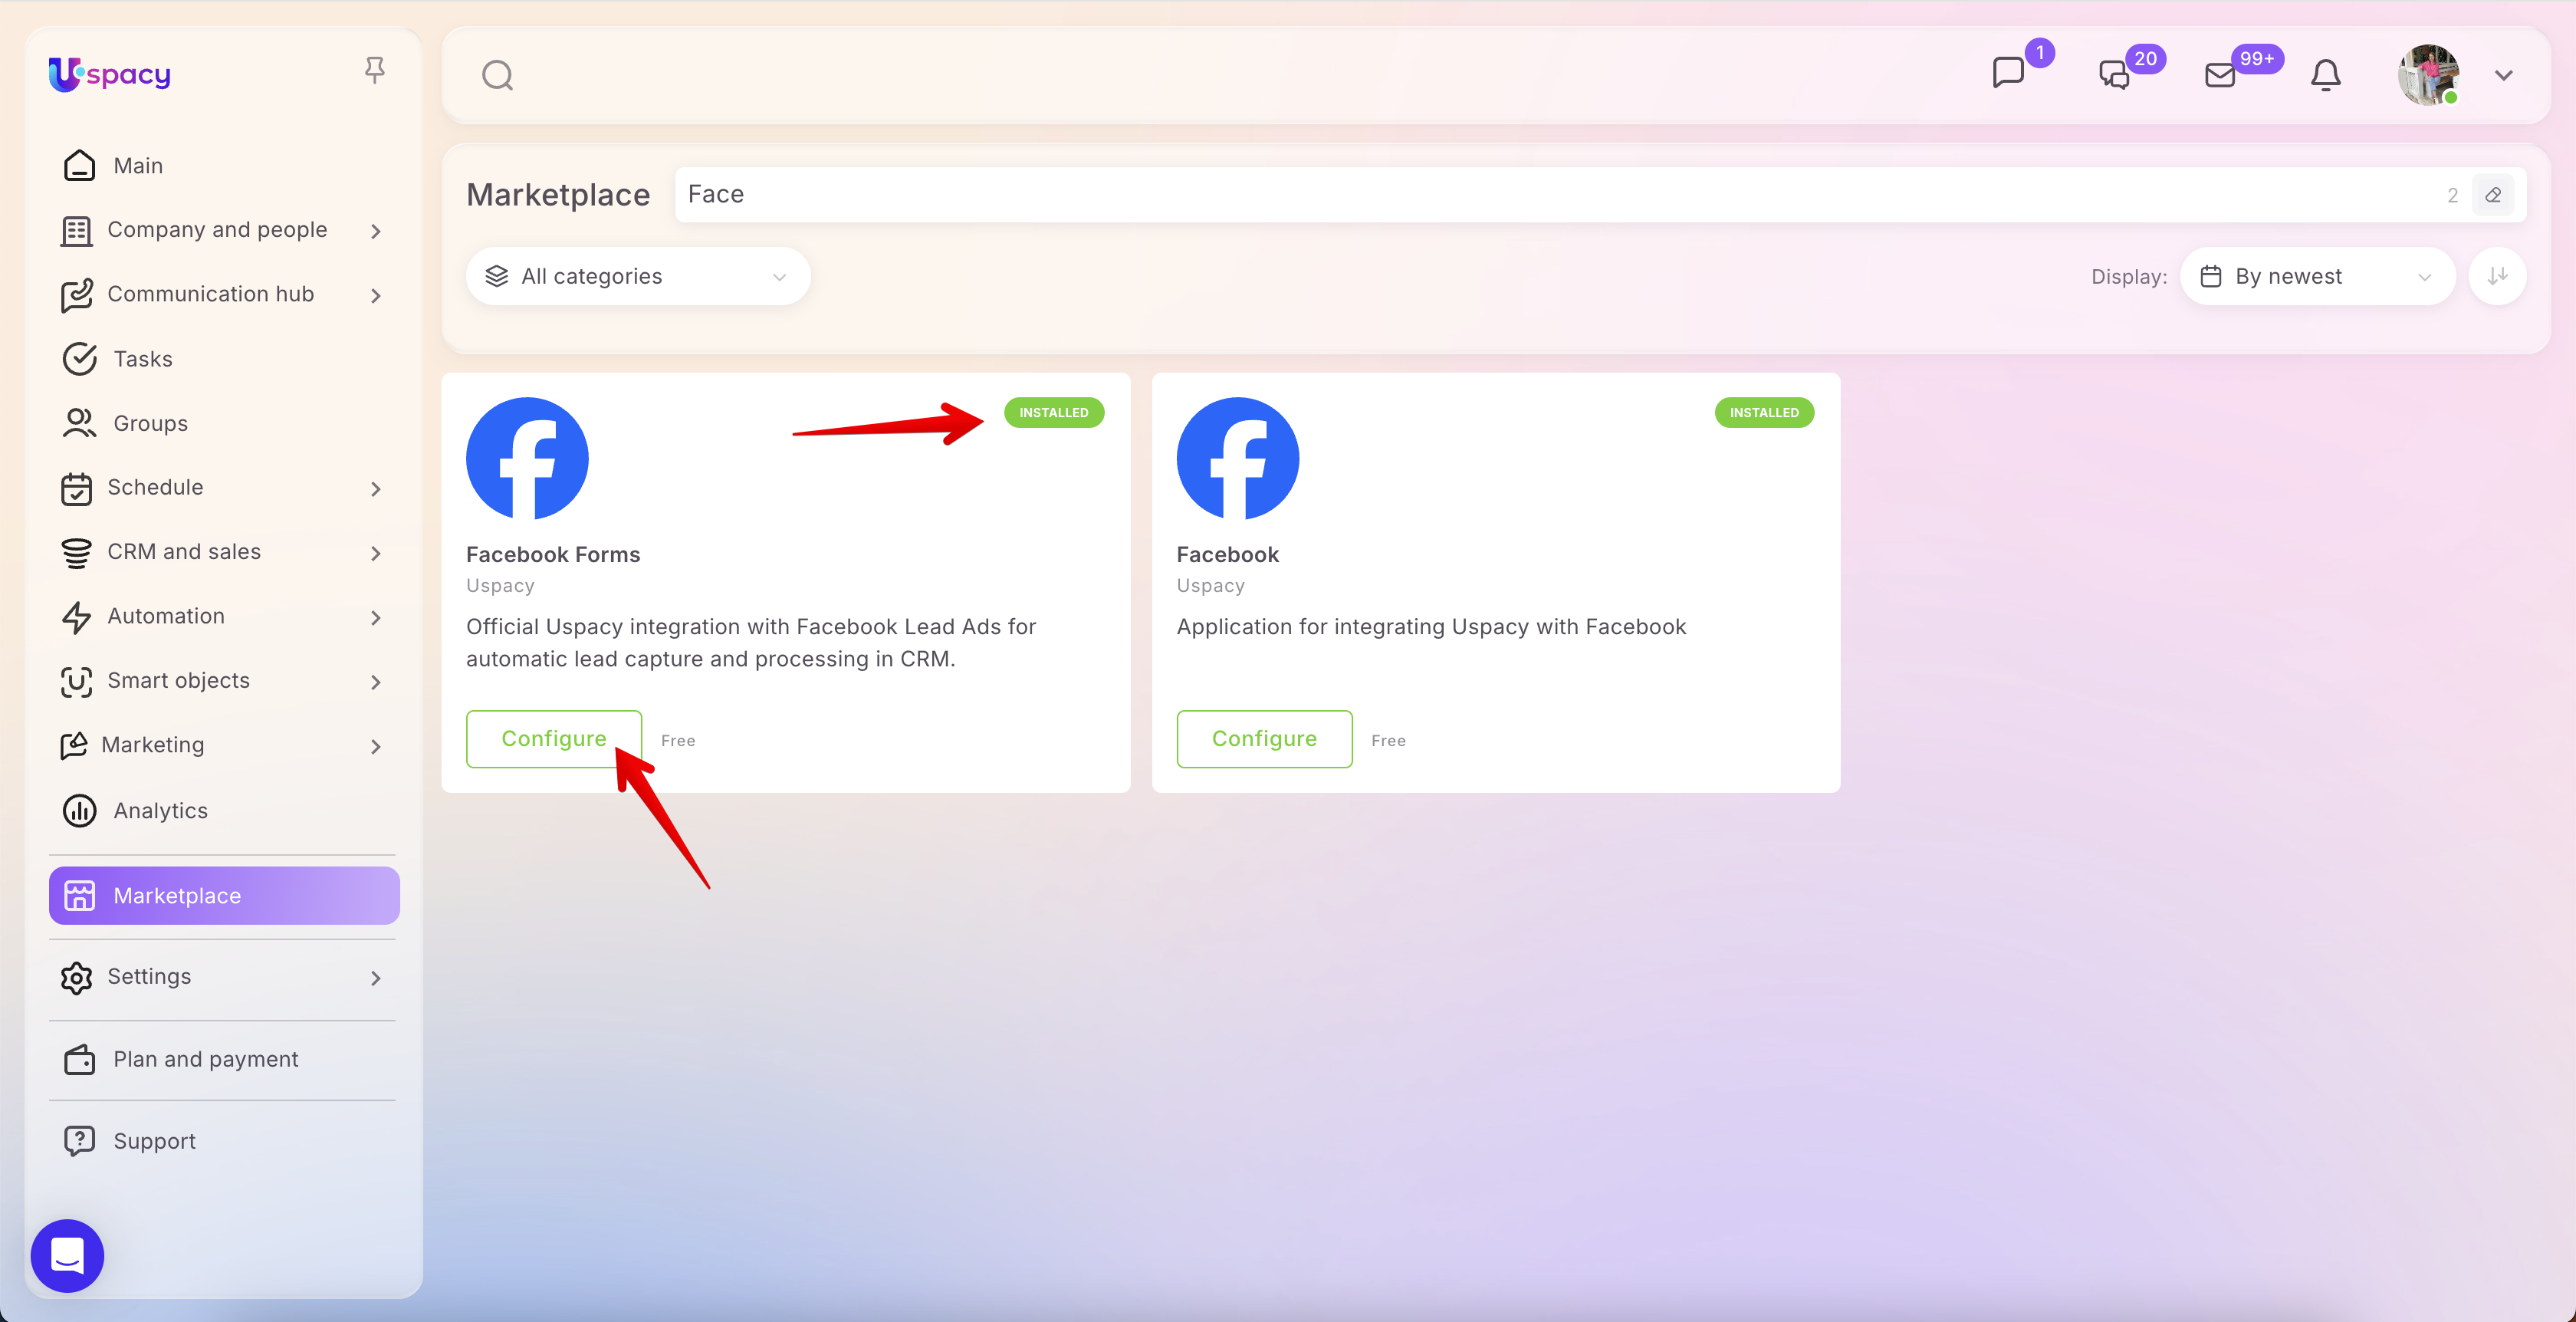
Here, establish a connection with Facebook. To do this, use the designated button.
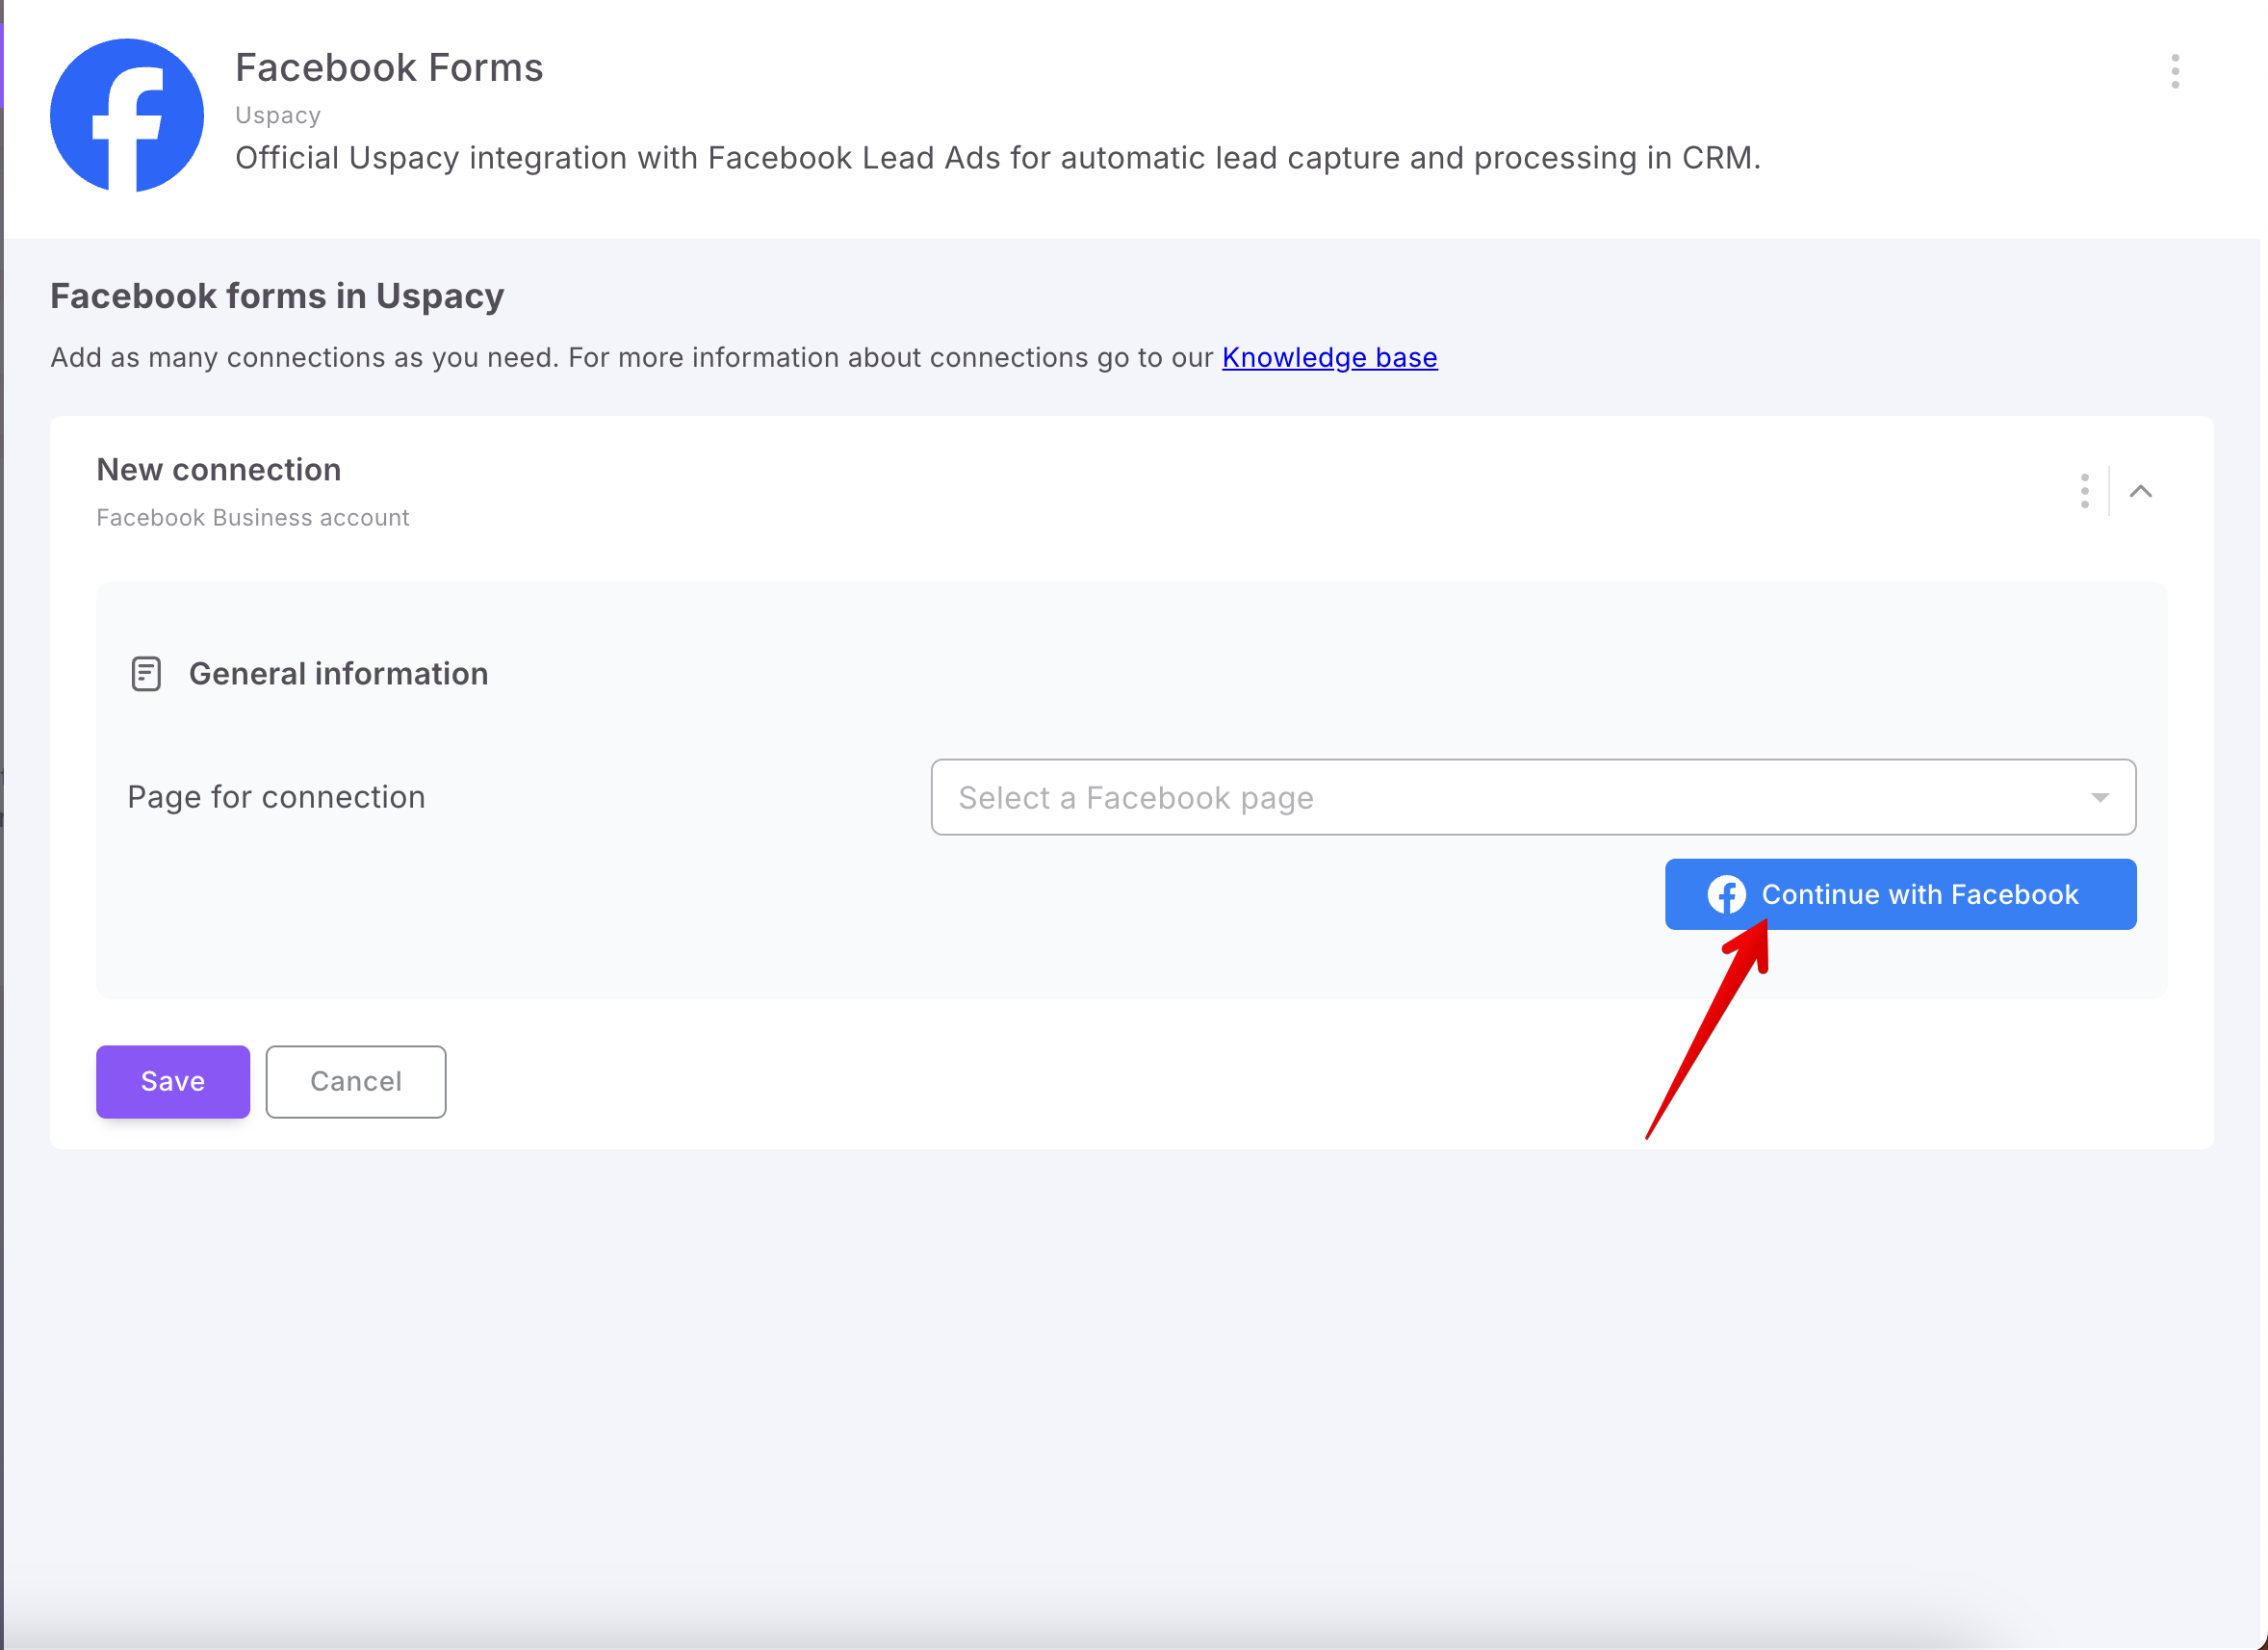
💡 Reminder: To ensure everything goes smoothly, you need to be logged in to the Facebook account that manages your business page. You can do this in advance in a separate browser tab.
If you are not already logged in, a window will open where you can do this.
Once the connection is established, expand it to begin configuring your forms and syncing them with Uspacy.

Next, click the Add forms button.

From the list, select the forms whose submitted data will be automatically transferred to the CRM after submission.
🌟 The number of active forms depends on your subscription plan. You can configure field mapping for all forms, but only the forms within your plan’s limit will be active: Free — 1 active form, Standard — up to 5, Professional — unlimited.

Now let’s move on to the actual setup. First, you need to specify which entity should be created when the form is submitted.

Next, fill out the required fields: Title and Person responsible.


Then click the Add a field button to specify which CRM fields should receive data from the Facebook form fields.

Select the required options using the checkboxes.

You can also create a new field in Uspacy directly here if a suitable one is missing for proper mapping with the corresponding Facebook field.

🔍 You can read more about creating new custom fields in the CRM in the article "Custom fields in CRM".
Once all required fields are added, fill them out with values (either static or dynamic).
Dynamic values are data that are automatically transferred into Uspacy fields from the corresponding mapped fields in the Facebook form. In other words, if you map the First name field in Facebook to the First name field in Uspacy, the value entered in the form will be automatically passed through after submission.

💡 Please note:
- A single Facebook field does not have to be mapped to only one Uspacy field. If needed, its value can be sent to multiple Uspacy fields at once.
- Likewise, a single Uspacy field can receive values from multiple Facebook fields. For this type of mapping, it is recommended to use Text fields, since Row fields have a 255-character limit. If the data exceeds this limit, part of the text will not be saved.
- For List-type fields, values will be transferred only if the options in Facebook and Uspacy match exactly. For example, if Uspacy contains values like “Rose” or “Tulip,” the Facebook form must use the same wording. If the values differ in spelling or form, the data will not be transferred. For instance, if Uspacy has “Roses” and Facebook has “Rose,” this value will not be mapped.
Therefore, all fields you have added must be mapped, meaning they must be assigned corresponding values.

Once everything is ready, click Save.
- If you don’t do this and simply close the application settings, the form will not be connected to your Uspacy workspace, and data from it will not be transferred to the CRM.
- In addition, if any of the added fields for mapping are not filled with values (either static or dynamic), saving will not be possible and you will see an error message.


Done!
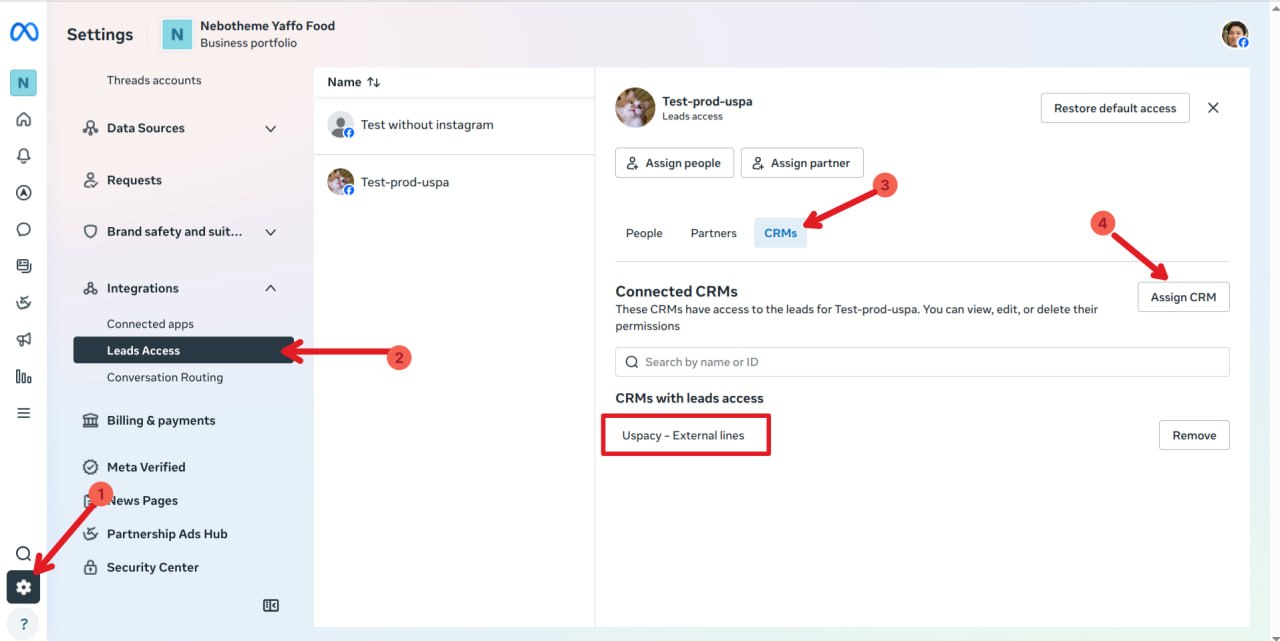
Granting lead access in Facebook Business Manager
💡 After completing the integration setup, it is also recommended to verify that lead access has been granted to the CRM for your Facebook business page. This can be done in Meta Business Manager under Settings → Leads access → CRM → Assign CRM. Without this step, new leads may not be transferred to Uspacy.
How does it work?
You can verify that the integration is working by using test data. To do this, use Meta’s official form testing tool — Lead Ads Testing Tool — and submit a test form.
After that, a new lead or contact will appear in your CRM (depending on which entity you selected in the settings).
All the data the client provided in the form—and that was mapped to Uspacy fields—will be filled out within the record card.
In addition, a Note is automatically created in the card with the form submission details. It includes the Facebook form name, the date and time of submission, technical request identifiers, as well as the full list of responses and contact information provided by the client. This is convenient because it allows a manager to quickly review not only the key data stored in the record fields, but also the full submission content in one place.

Managing form activity
If you disable a form using the toggle switch, the form itself and all its settings will be preserved, but no new Leads or Contacts will be created from that form. This is useful when you need to temporarily pause lead processing without losing your existing configuration.

If you delete a form using the trash icon, it will be removed from the list of connected forms, and all its settings will be deleted. If you later add this form again, you will need to configure it from scratch.

💡 Please note: if a form is archived on Facebook, it will eventually disappear from Uspacy as well. This does not happen immediately, so the form may still appear in the list of connected forms for some time. Once it is reactivated on Facebook, it can be configured again in Uspacy.
The Facebook Lead Ads integration makes working with leads more structured and transparent. All submitted data is transferred directly into Uspacy, where it can be quickly reviewed, processed, and handed off for follow-up without any duplicate data entry. As a result, the team saves time, maintains better control over incoming requests, and manages leads within a single unified environment.
If you have additional questions or you need to contact the support, send a request to this email [email protected]
Created: May 7, 2026 / Updated: June 26, 2026